

The Crochet Sedge Stitch, showcased for its rich texture and appealing finish, stands as an excellent choice for crocheters seeking to add a touch of sophistication and depth to their projects. Its unique combination of single crochet, half double crochet, and double crochet stitches within the same chain space creates a dense, yet delicate fabric, perfect for a variety of creations.
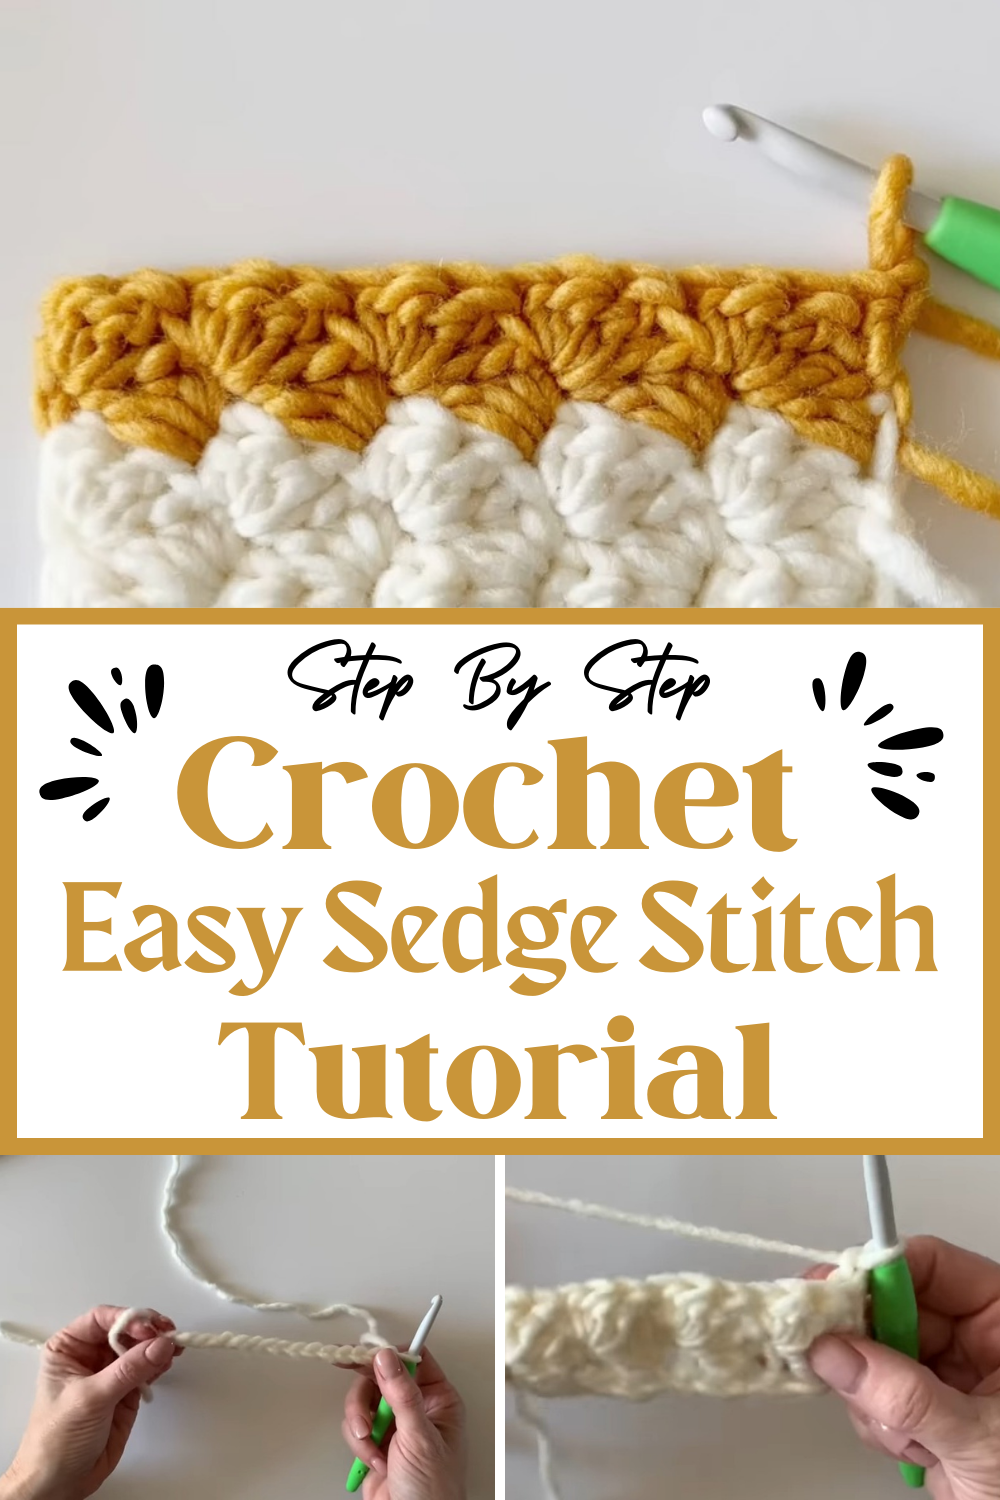
Crochet Sedge Stitch
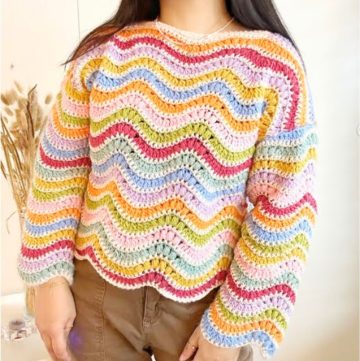
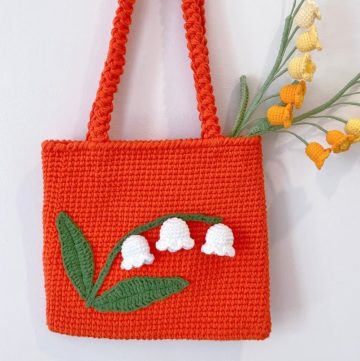
From cozy blankets and scarves to elegant bags, the Sedge Stitch offers versatility and visual appeal. Its rhythmic pattern is not only satisfying to work up but also lends a plush, ridged feel to the finished item, making it a favorite among crafters aiming for both beauty and functionality in their crochet endeavors.
Materials Needed:
- Any yarn of your choice
- Crochet hook suitable for the yarn (the video uses a K hook for chunky yarn)
Pattern Instructions:
Step 1: Starting Chain
- Begin with any multiple of three for your chain length.
- Example given is 15 chains (i.e., 5 x 3 = 15, a multiple of three).

Step 2: First Row
- Start in the second chain from the hook.
- Work a half double crochet (hdc) into this chain.
- In the same chain space, work a double crochet (dc).
- Skip two chains, then in the next chain work the following sequence into the same chain:
- One single crochet (sc)
- One half double crochet (hdc)
- One double crochet (dc)
- Repeat the above sequence across the row, skipping two chains between each set.
- End the row with a single crochet in the last chain.

For Step 3: Turning and Continuing
- Chain one, then turn your work.
- The chain one counts as your first single crochet.
- In the top of the last single crochet made from the row below, start with a half double crochet and then a double crochet (following the established pattern sequence).
- Skip two stitches and in the top of the next single crochet from the previous row, start the pattern sequence:
- A single crochet
- A half double crochet
- A double crochet
- Repeat this sequence, always skipping two stitches between each set.

Step 4: Ending the Row
- As you reach the end of the row, there are options on where to place your last single crochet:
- It can be in the top of the half double crochet (which can be easier to identify by its “V” shape)
- Alternatively, it could be down into the chain space (choose based on what’s easier for you).
- Remember: always end every row this way to keep your edges straight.
Step 5: Repeat
- Chain one and turn your work at the end of every row.
- Repeat from Step 3 for the desired length of your project.

Additional Tips:
- The tutorial uses chunky weight yarn and a K hook to make the stitches clearly visible.
- The pattern is versatile and can be adapted for different yarn weights and hook sizes.
Projects:
- This stitch is suitable for blankets and other projects where a textured, dense fabric is desired.
Leave a Reply